Stenciling!
The first lesson was on using "found stencils" ... whatever you find that wasn't intended to be a stencil, but which works for that purpose.
For the first lesson, we worked on sturdy materials that can be made into a portfolio to hold the rest of our work for the class.
I cut a piece of foam core in half, and glued a page from an old atlas to each side of each half.
I worked on one side of each half, alternating as they dried, and then did the other side of each half.
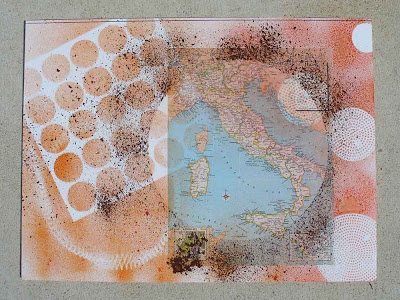
This first image shows the first two things I did to this surface. First I laid a spiral thingie (like for spiral notebook binding) and some circular plastic needlepoint canvases down, and sprayed with Maya Mist ink (orange on the left and copper on the right). Picked up the stuff, let it dry.
Then I laid a cardboard circle down, and sprayed with white. WAIT! WHITE!!!! Oops. Brown. Ok...... The brown paint had a very odd texture. Very thick and gloppy. Ok, let's go with that..............
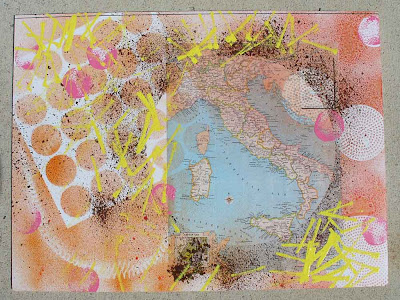
Next, some sponging. I bought some of those cute little interior house-paint jars (there must be 100 colors to choose from................).
I used a round sponge to sponge on some pink circles, and a sponge "brush" to dab on some yellow line segments.
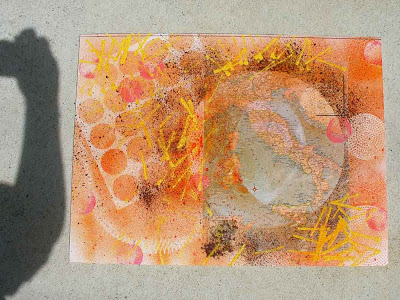
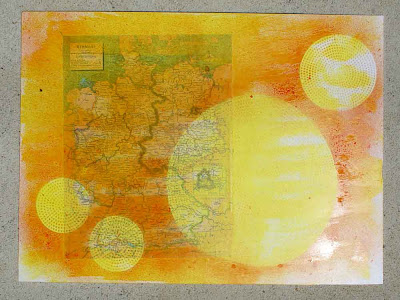
Hmmm. Attempting to make it seem more coherent and less hodge-podgey, I spray over the whole thing (not so much over Italy) with orange.
And then lay down the white-painty side of a spiral which had been used as a mask, right over Italy.
Then I put a smaller cardboard circle over Italy and sprayed some more orange. Not sure I think that was a good idea.................
Moving right along.
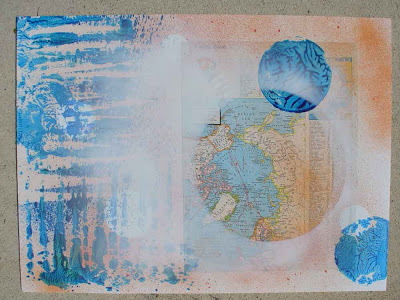
The first thing I did to this one was lay a big cardboard circle over the polar map, and a couple of the smaller plastic needlepoint canvases on the white left side, and spray with white Krylon H2O primer. I thought the primer would be more opaque than the regular paint, but it's pretty transparent. Not a bad effect, but not what I was expecting.
Then I laid down some small cardboard circles, and misted it with orange ink.
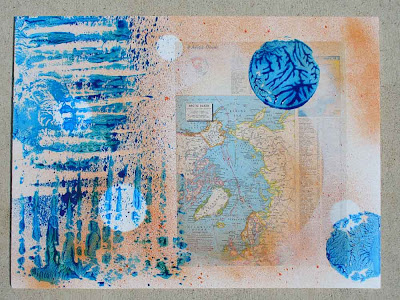
Blue fabric paint, mixed with water and sprayed from a plant mister. I used a hand-made stencil that was long skinny points (upper left). The "spray" was more like globs. I turned the stencil over and printed with it (lower left), and the cool part was what happened when I picked up the stencil.
So I grabbed a plexiglas circle, painted it with the blue paint, and then printed three times with it.
The first two are on the right, and the last one is in the mess in the upper left corner. Excellent veiny look, no?
Then I put a cardboard circle over the polar map and sprayed white mostly on the left side.
I'm thinking this needs something collaged on the left side.............
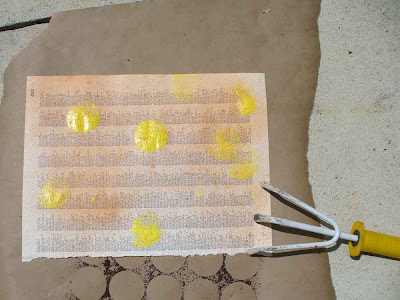
Thinking about something to collage over the prev.... I ripped an index page out of the atlas, sponged on some yellow circles, and then misted it over with orange.
The yellow circles took on a very pitted-lunar-surface look after having been misted..... And the orange, which was nicely *orange* on the foam core, is way washed out and ... boring ... on the more-absorbent index page. Alas.
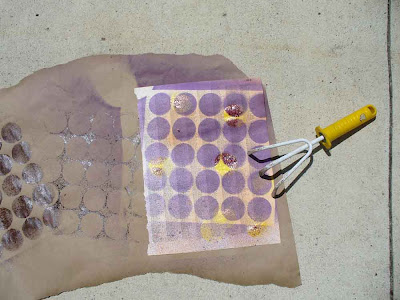
Spraying over it with purple..........
Starting with the other two sides of the foam core.
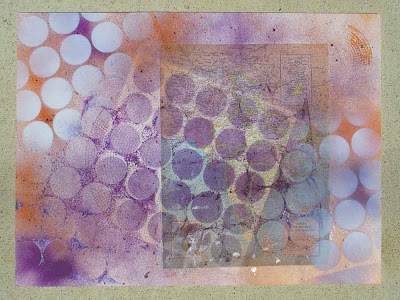
I didn't like the edges of the map paper on the WHITE foam core, earlier, but didn't deal with it at the beginning of dealing with Italy and the polar map. This time I tamed that bad boy down right from the get go. Yellow house paint, sponged over (almost) the whole surface.
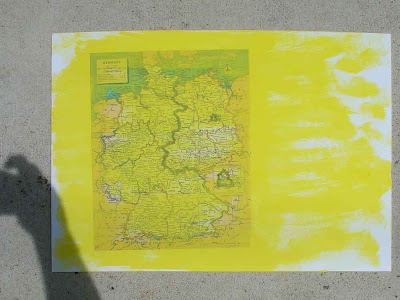
Needlepoint canvases, orange ink.
Purple ink, with circles as stencil and then printing "block". It's good to have more value contrast..........
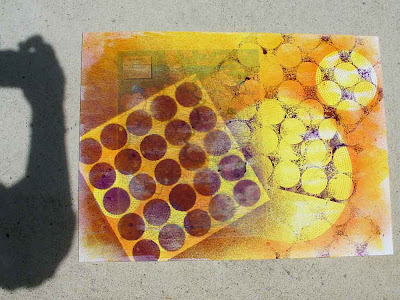
After spraying the needlepoint canvases over Germany, above, I used them to print over India. The spray ink stays wet long enough that you can do that, usually.
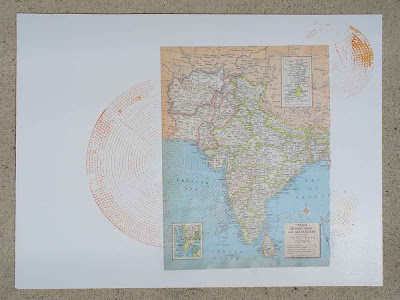
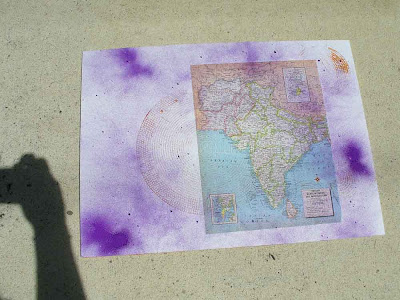
Sprayed it with purple ink. Deliberate dark blotches.
Then the picture-taking fell apart. I couldn't remember what I had shot and what I had not, so some things got multiple sessions of the same stage of progress, and some, well, some got skipped.
Ok. I sprayed it around the edges with orange, too.
It looked awfully matchy-matchy at this point, so I sprayed purple over the circles, hoping some of them would go brown the way they did over Germany. I also printed with the ink on the circle-stencil.
Better, but....................
I decided to spray white circles on the edges. Definitely better to have those circles overlap the edge and not be square with the edges........... Print with the white left on the circle-stencil, which also lifted the purple that was there from just before the white (lower left).
Mary Ann collages over surfaces that are sprayed/stenciled -- the above will all benefit from some collaging.................. (Thinking something seriously orange is needed for the upper right of the prev....)
So -- things learned ...
If you don't like it, keep working over it.......... Much to learn about what will move things in a positive direction when I'm dissatisfied.
White on white ... maybe not worth the effort. That was the only thing I did that you just can't see at all in the finished (well, current) piece.
Things we already knew that apply to everything:
It's good to think about whether things look too hodge-podgey or too matchy-matchy.
It's good to have a big stash (colors, stencils) so your work doesn't all look alike.
Value contrast is Good.
An Excellent Beginning!
And to close.........
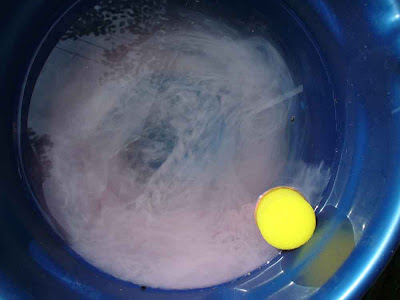
I don't know how well you can see this (the reflections of the trees overhead complicate the issue!). There was a bucket of water standing by. After I first sponged pink circles, I tossed the sponge in the bucket.
The paint drifted down, around, down, around......... Very cool.
.






2 comments:
Nice work!! Love seeing all the steps along the way...I am having a blast playing with stencils and objects and getting loose!!
Thanks!
I haven't touched paint since I was in jr high............
I guess stencilling can be sort of collagey in feel, if you regard your stencils as found object and then arrange them, but I'm so used to knowing what my item looks like before I start putting it down on the page.
Letting it be ok no matter what the result is, OR knowing that I can just put more and more stuff over it until I'm statisfied.....
A new way of working!
I think that's the most significant thing I've taken away, so far -- if you don't like it, just keep doing stuff to it.
Love the way Mary Ann just keeps going. "Oh, this item won't stick down when I glue it? Ok, I'll just staple it."
:-)
Post a Comment